Data Mapping with Python
This tutorial will give a simple example how you can split complex data coming from a block (e.g. the Web API block) into simpler structures, using the Python Code block. For this we have to join a couple of inseri blocks.
If you have no experience with inseri, please start with our Hello World.
For the final experience, please click here.
Step 1: Create a new post
On your inseri instance or in the inseri Playground (remember, your changes will not be saved there), add a new post and give it a title. In this example, we call the post "Data Mapping with Python". You can type this at "Add title...".
Step 2: Add the Web API block
- Add the "Web API" block (like in the Step 2.1. from Hello World).
- Enter the following URL in the corresponding field.
- Choose "JSON" as Content Type because the Web API will fetch a JSON file.
- Click "Finish".
- Give the web API block the simple name "webApi" (like in Step 2.3. from Hello World).
- Disable Call automatically (the setting is the below "BLOCK NAME"). In order to fetch the data, you have to click on the button "Call Web API".
- For testing the request you should click on "Configure the settings" (in the sidebar above the "BLOCK NAME" above), and click on "TRY REQUEST" (see the picture below).
- Close the view.
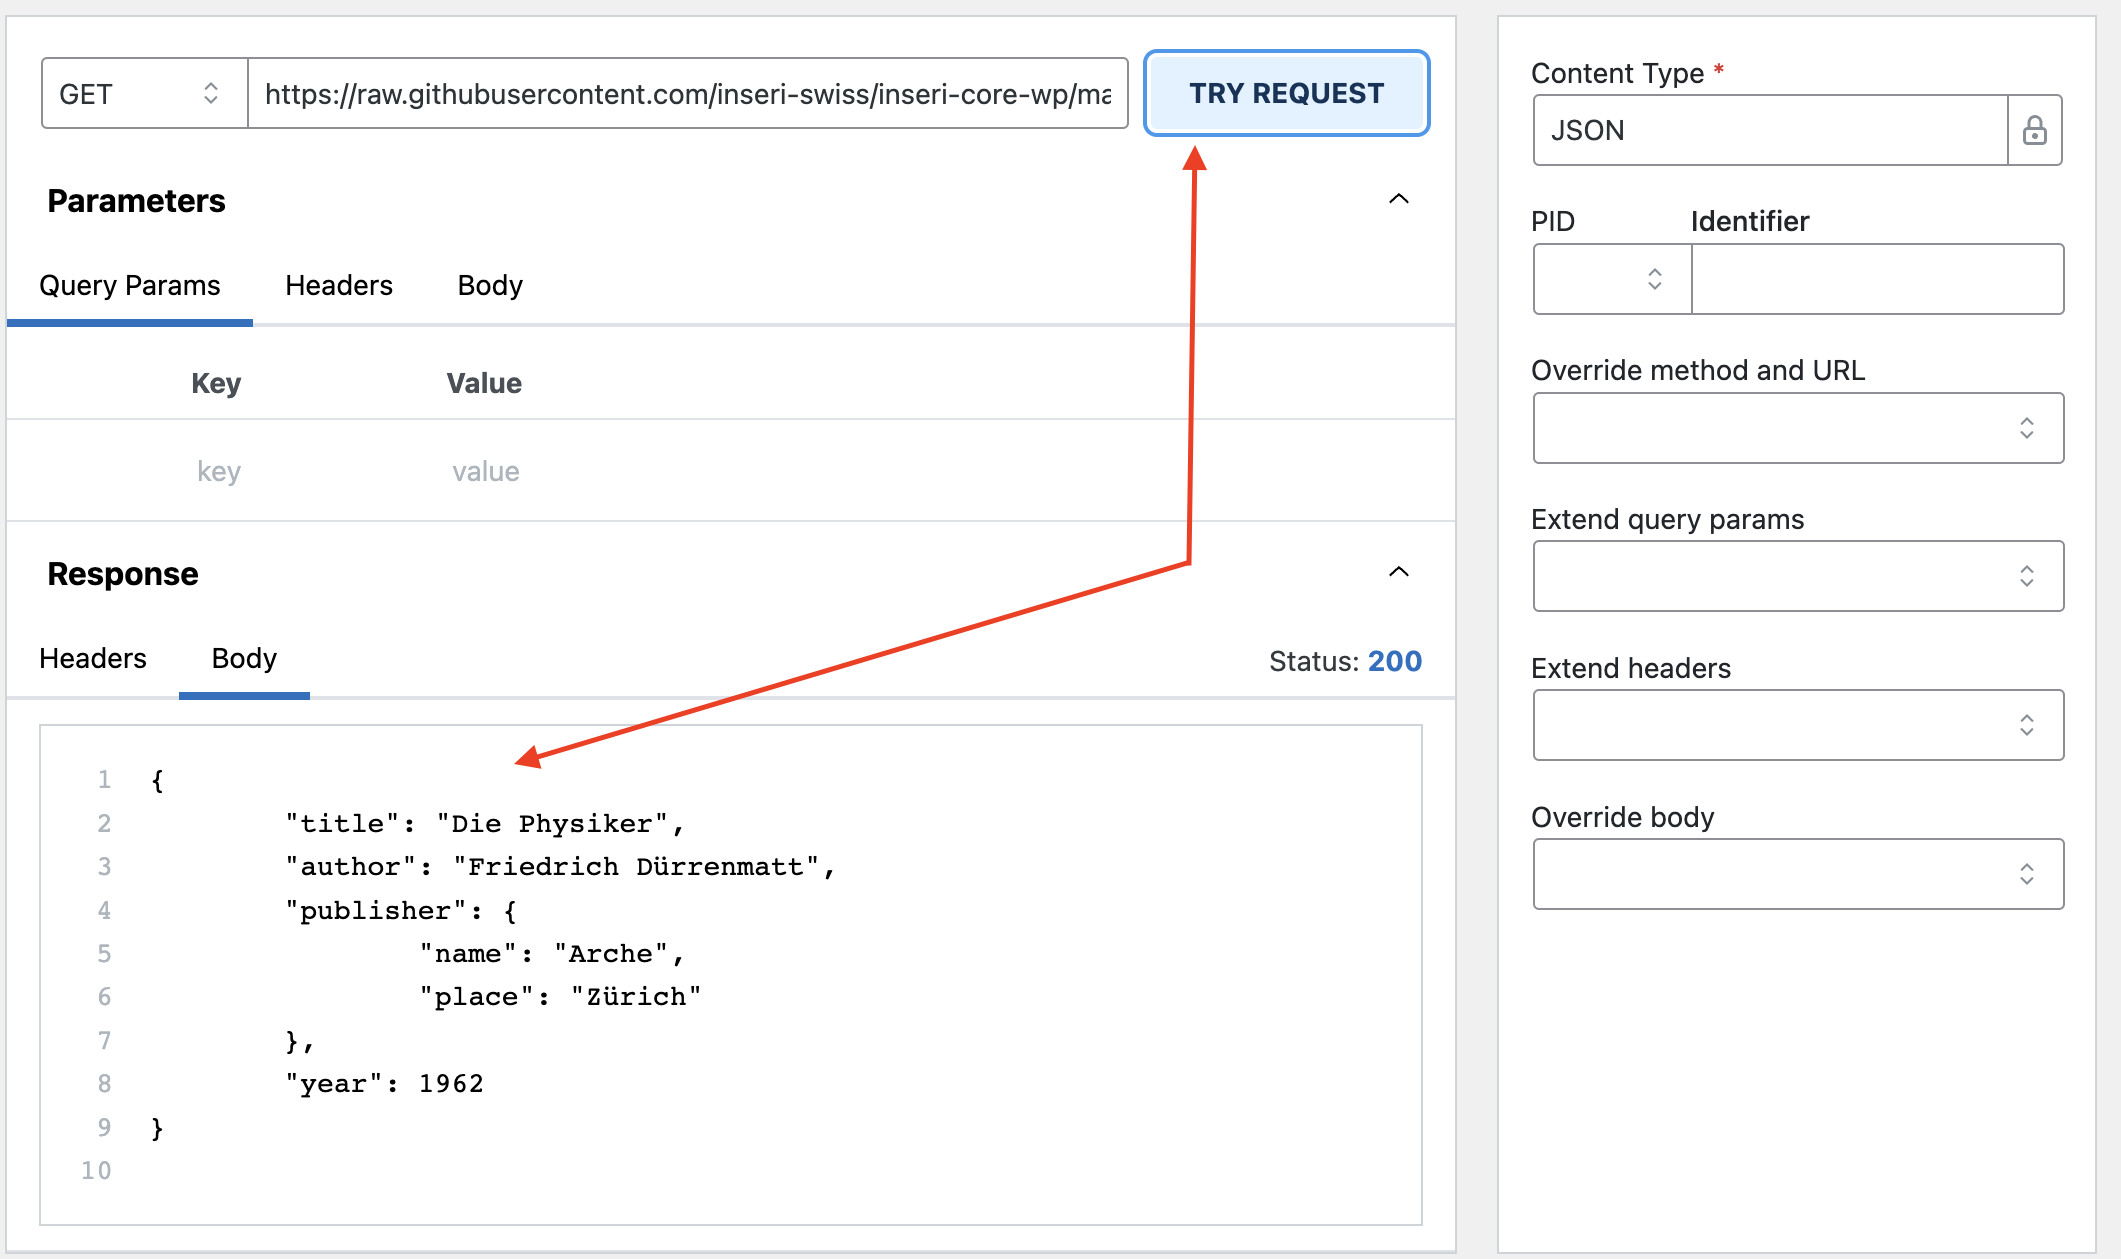
It should give the following content:
{
    "title": "Die Physiker",
    "author": "Friedrich Dürrenmatt",
    "publisher": {
        "name": "Arche",
        "place": "Zürich"
    },
    "year": 1962
}
Step 3: Add the Python Code block
- Add the "Python Code" block.
- Select "Write Code". This way you can add the code directly in this block.
- Give the Python Code block the simple name "python"
- Copy the following snippet into the Python code editor:
Obviously, this is not yet complete because data is not defined anywhere in the code.
Step 4: Open the extended view of the Python Code block
- To open the extended view you should click on "Open extended view" (in the sidebar above the "BLOCK NAME").
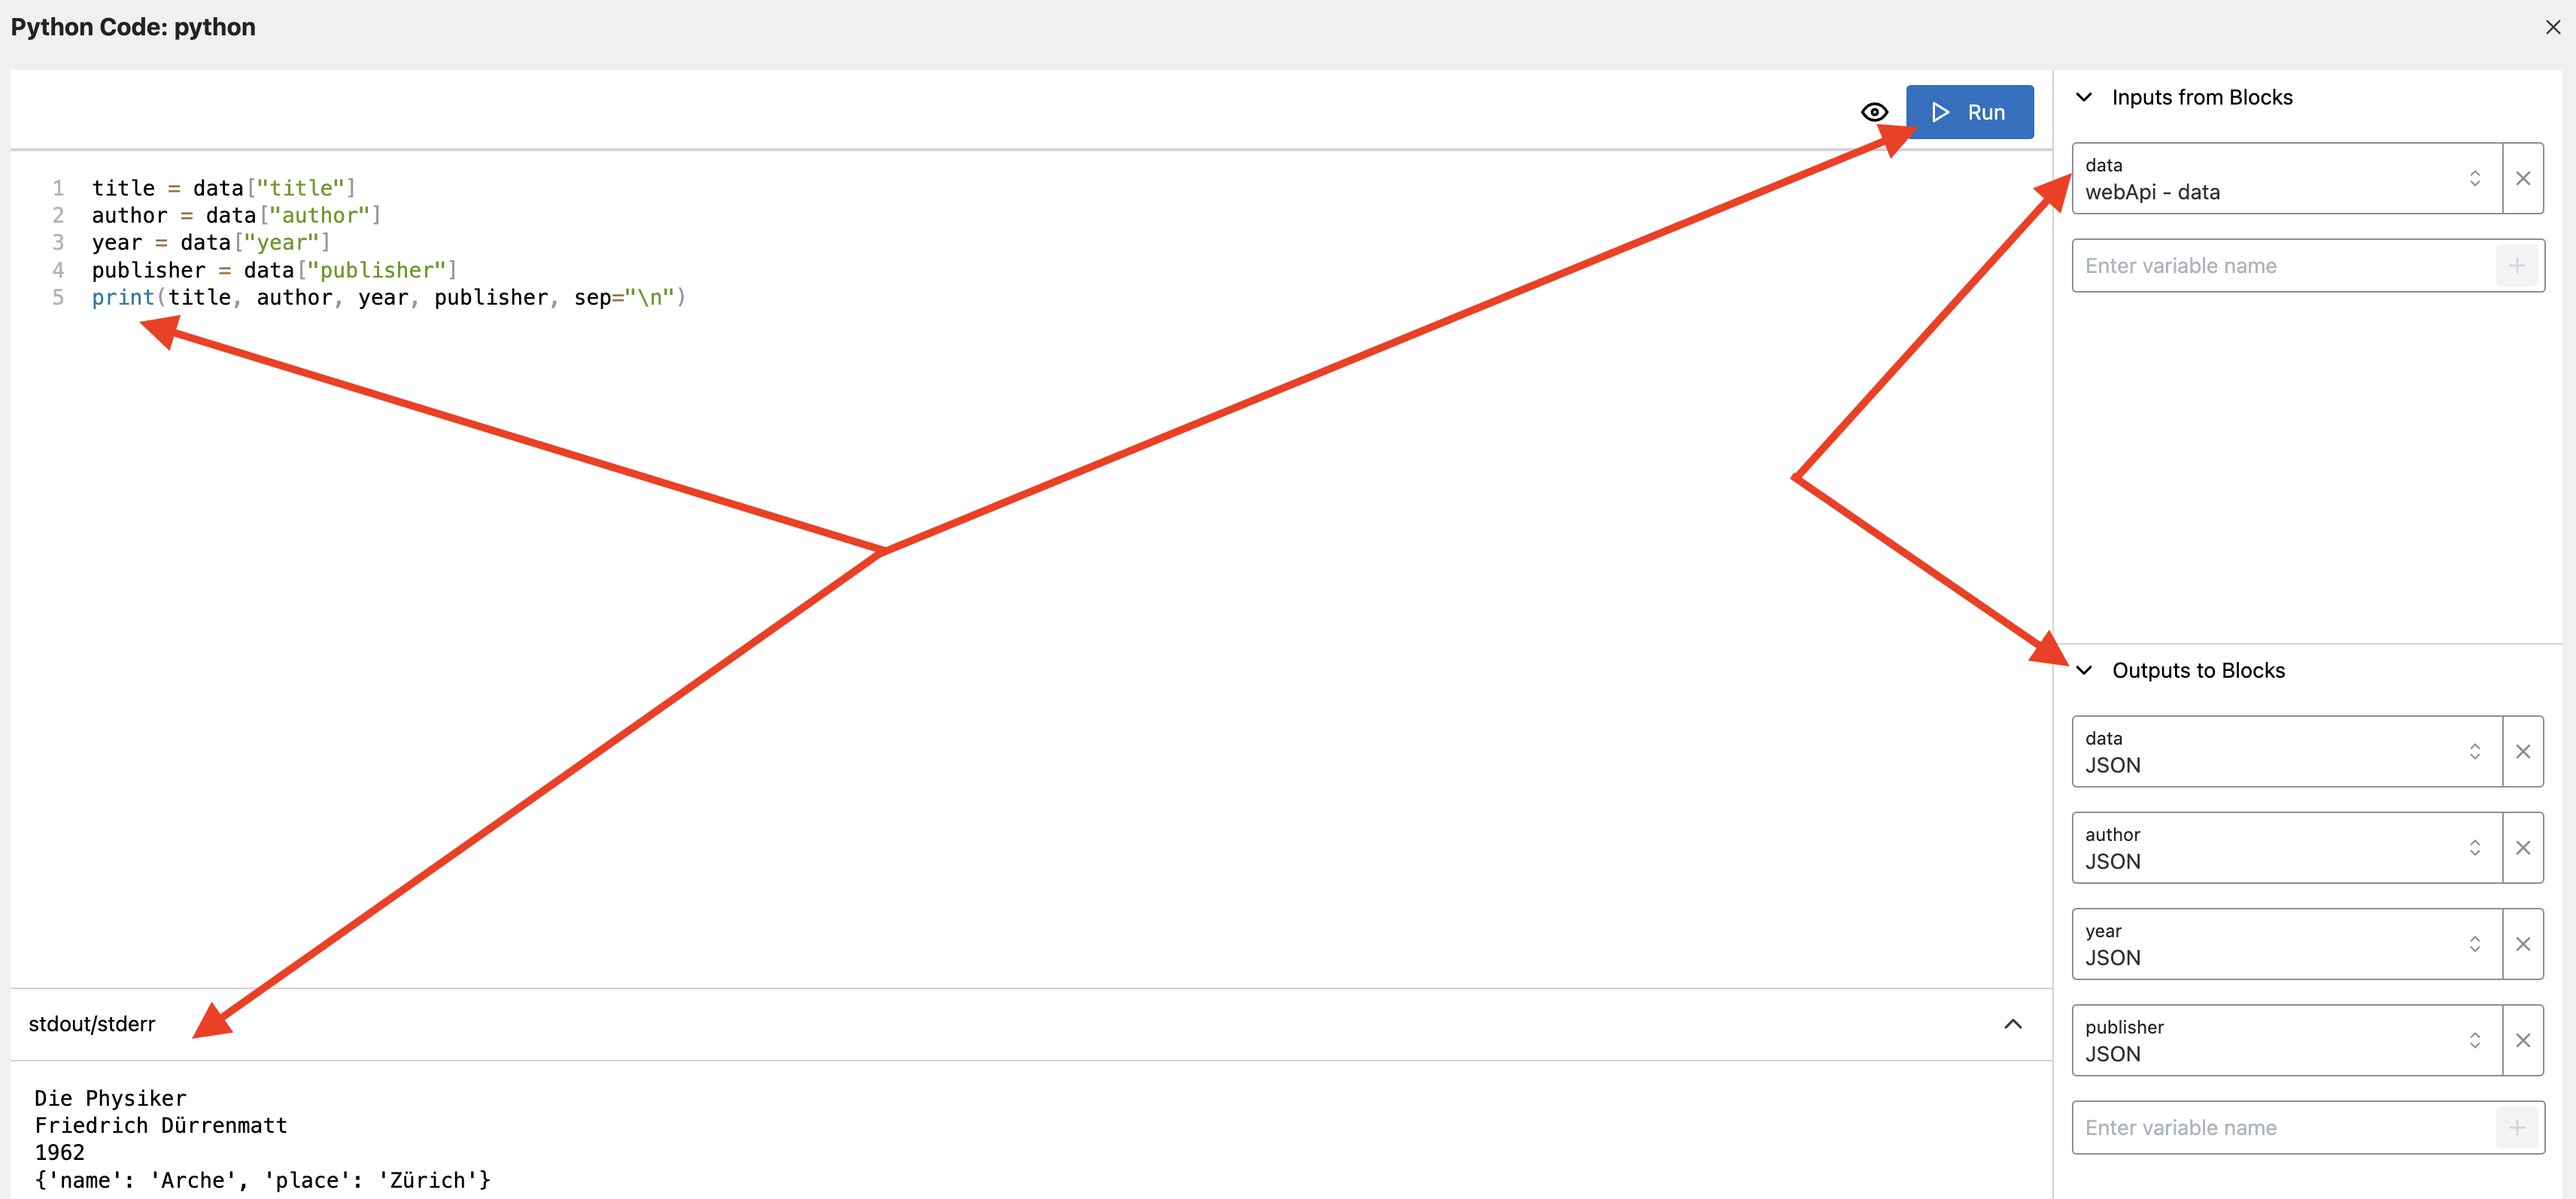
- Under "Inputs from Blocks", enter the variable name
dataand accept it with selecting the+. You can now selectwebApi - datato connect this block to the web API block. - Define the outputs under "Output to Blocks".
As with the input, enter a variable name from the script into the textbox and accept with
+. Fortitle,author,year, andpublisherset the content type to "JSON". - Add a
printstatement (see below an example) to check whether the output variables have the desired value. Once everything looks as expected, remove or comment out the print statement. The extended view of the Python block should now look like the picture above. - Comment out the
printstatement. - Close the extended view.
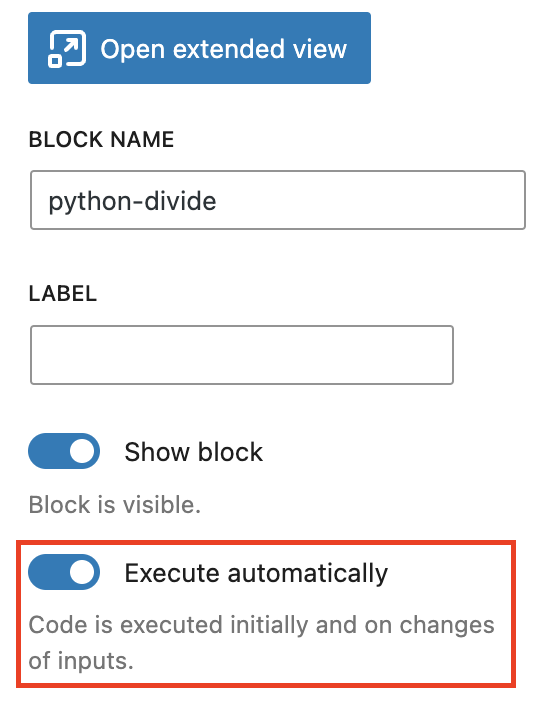
- Make sure that the block is set to execute automatically (see the picture below).
Note
You can hide the Python block if you want (the setting is above the execute automatically option).
Step 5: Add the Text Viewer blocks
Now, add four Text Viewer blocks.
Set their inputs, i.e., the block source, to python - author, python - year, python - title, python - publisher, respectively.
Note
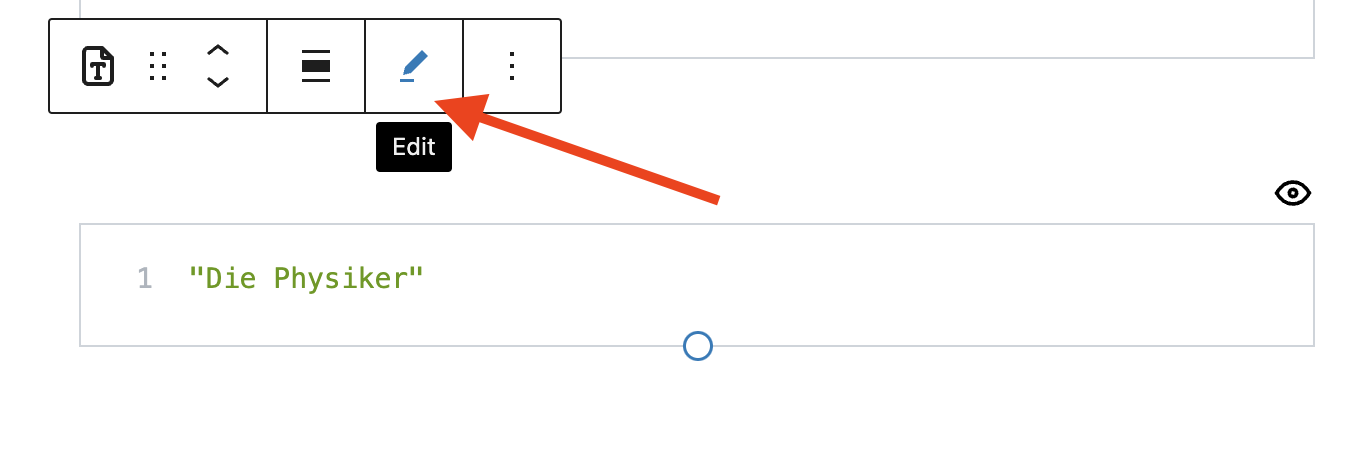
You can edit the source of the Text Viewer block by clicking on the edit icon. This can be used for other inseri core blocks as well.
Step 6: Save and publish
You can save and publish your post like any WordPress post.
Once published, the four text blocks will show their content after you press "Call Web API".
If you change the web-API block to execute automatically, the content will appear immediately.
Overview
The Data Flow Chart provides a nice overview. You can see it also at the bottom of the Data Mapping with Python.